Step 1. Sign in
Go to webtoleads.app and sign in with Salesforce or email.
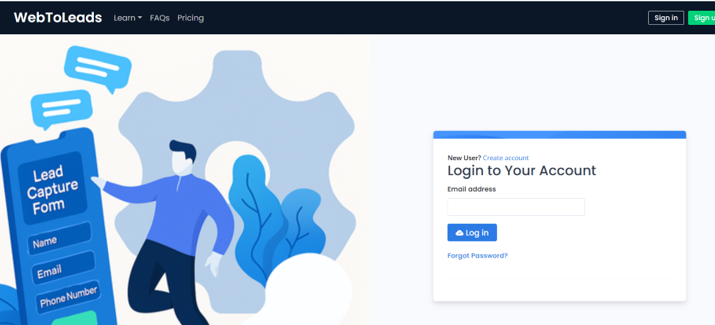
- Use company email for workspace linking.
- You can invite teammates later.
Build powerful online forms and connect them directly to Salesforce—no coding required. With WebToLeads, you can collect data, automate your business workflow, and deploy a secure form that perfectly matches your brand in minutes. Our drag-and-drop builder makes it simple to customize layouts, add file uploads, and configure advanced validation rules to ensure clean, accurate data every time. Seamlessly embed multiple forms using iframe embedding or WordPress embedding, and maintain complete control with HTML embed code that fits any site or CMS. WebToLeads goes beyond the basics with smart dynamic lookups, built-in data encryption, and a reliable Salesforce connector that keeps your form publishing and lead routing fast and secure. You can even track progress and changes through a visual connector timeline, ensuring transparency from creation to deployment. Whether you’re designing for marketing, support, or internal requests, WebToLeads delivers a truly modern workflow automation experience—turning the old Salesforce Web-to-Lead setup into a flexible, enterprise-ready system.
WebToLeads.app is a Salesforce-native platform that makes it simple to create, configure, and embed modern Salesforce Web-to-Lead forms — without touching code. It replaces outdated CRM lead capture forms with a no-code, automated system designed to improve lead generation efficiency, ensure real-time Salesforce lead capture, and reduce manual data entry.
Web-to-Lead is a powerful feature in CRM systems like Salesforce that automatically generates an HTML lead capture form for your website. When a visitor fills out the form, their details are sent directly to Salesforce via a POST request to create a new lead record. This automatic Salesforce lead record creation eliminates manual data entry and enables your team to manage, assign, and convert leads into sales opportunities instantly.
WebToLeads.app streamlines every step of the Salesforce Web-to-Lead setup — from configuration to automation — so anyone can launch a working lead form in minutes.
Unlike the default Salesforce Web-to-Lead feature, WebToLeads.app provides a full suite of automation, data validation, and deduplication tools that keep your CRM clean and efficient. It’s built specifically for Salesforce admins, marketers, and web managers who need reliable website-to-CRM integration without technical complexity.
Start your free trial today at WebToLeads.app and experience the easiest way to create, embed, and automate Salesforce Web-to-Lead forms — one product built for many use cases across your business.
Go to webtoleads.app and sign in with Salesforce or email.
From the connections screen Connect Salesforce, provide for API Token, and let the app fetch Lead fields and picklists.
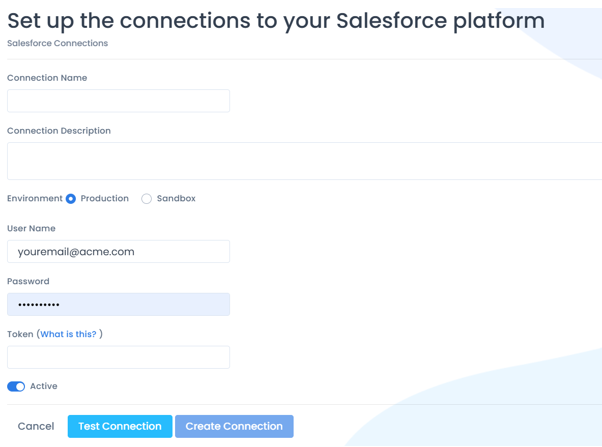
Org ID is stored securely and never exposed in page markup.
Navigate to Forms then Create New. Name your form and choose your Salesforce connection.
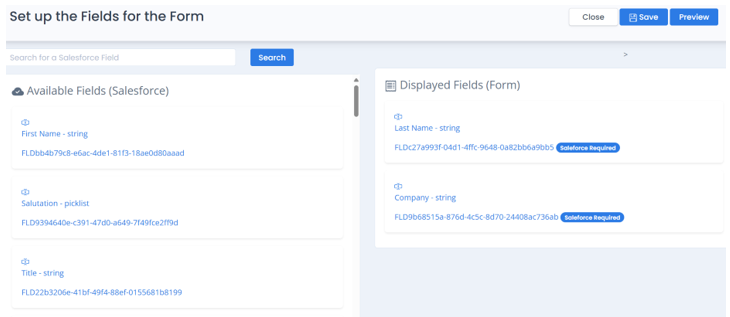
Turn on required fields and add regex patterns with friendly messages. Character limits follow Salesforce field definitions.
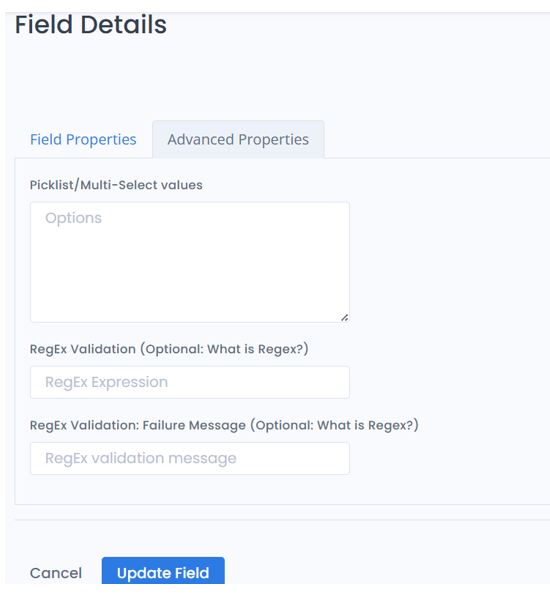
Email (regex):
^[^\s@]+@[^\s@]+\.[^\s@]+$
Message: Please enter a valid email.
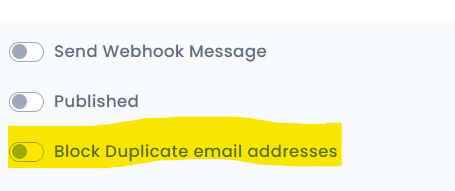
Open your form settings and enable duplicate blocking by email to prevent repeat lead creation.
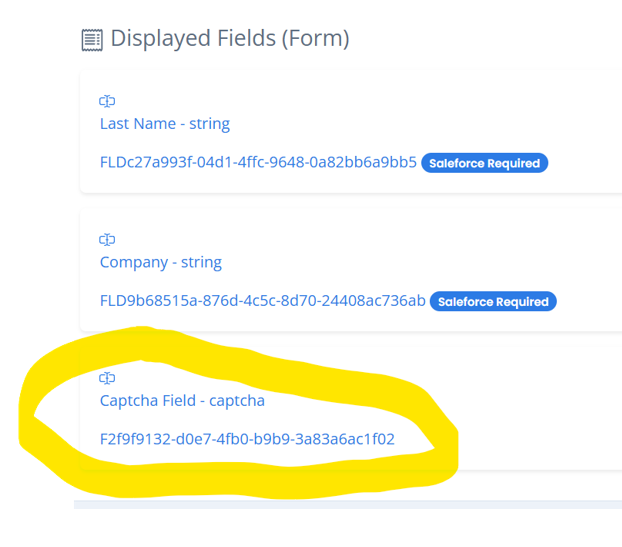
Add CAPTCHA from the Security panel to reduce bot submissions.
Enable your picklists to pull valid values to avoid data corruption in Salesforce.
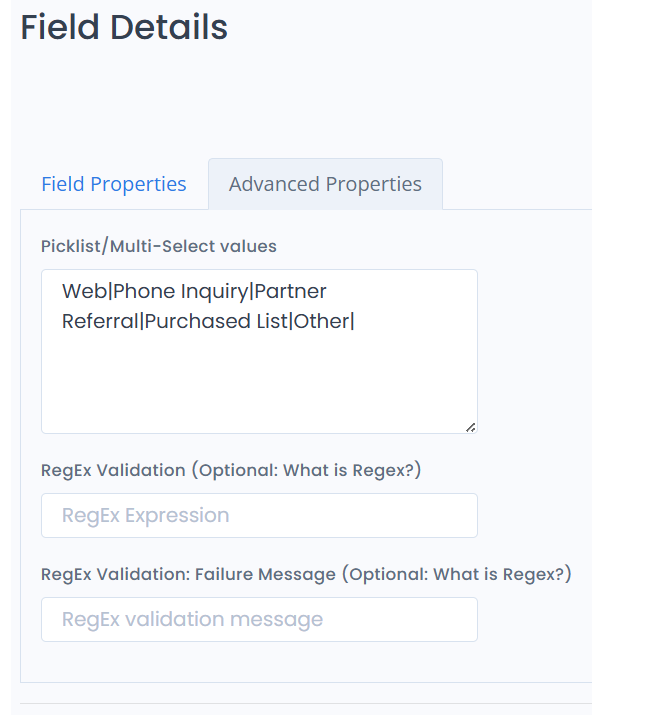
Reduces field errors and keeps options consistent across teams. Pulls values from salesforce and can be customized.
Publish your form and embed it on your site. Test a submission and confirm the Lead is created in Salesforce.

<!-- Example iframe embed -->
<iframe
  src="https://webtoleads.app/embed/form/your-form-id"
  width="100%" height="720"
  style="border:0; border-radius:12px;"
  title="Contact us form"></iframe>
# WordPress shortcode example
[webtoleads id="your-form-id"]
We use cookies and similar technologies to run this site, keep it secure, and improve your experience. For EU users, processing is based on consent or legitimate interests. For California residents, we do not sell personal information. See our Privacy Notice and Terms. You can opt out of non-essential cookies any time. Do Not Sell My Information.